Installation
Get NIM running
Prepare the server, install the NIM Service, sign in to NIM Studio, and activate the installation. Most environments can complete this sequence in one session.
Choose a tab, then follow the numbered instructions. Expand screenshots when you need a visual reference.
Prepare the server
Minimum requirements
Use a currently supported Windows Server release in line with the Microsoft Lifecycle Policy. Older editions may work, but are not recommended.
Configure endpoint-protection exclusions
During large mapping or role operations, endpoint protection can interfere with NIM processing. In your endpoint-protection product, exclude the following paths and executables:
C:\Program Files\Tools4ever\NIMC:\ProgramData\Tools4ever\NIMC:\Program Files\Tools4ever\NIM\node.exeC:\Program Files\Tools4ever\NIM\nim.exeNIM PowerShell connectors are not currently signed. Endpoint protection may also affect connector processing.
Install NIM
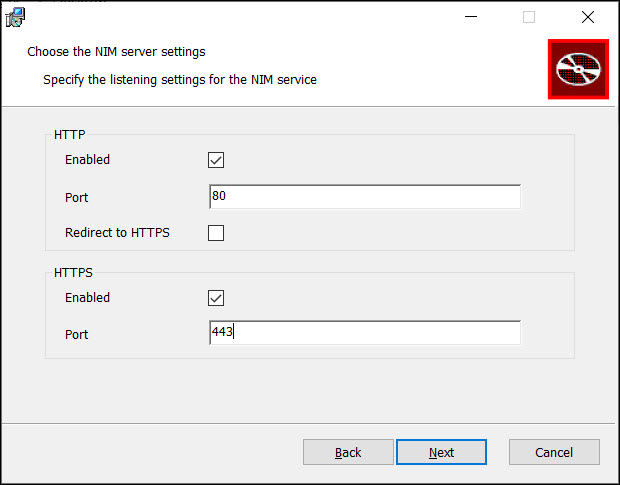
Run the NIM Windows installer. Use the recommended network settings: enable HTTP on port
80, leave HTTP-to-HTTPS redirection disabled, and enable HTTPS on port443.View screenshot
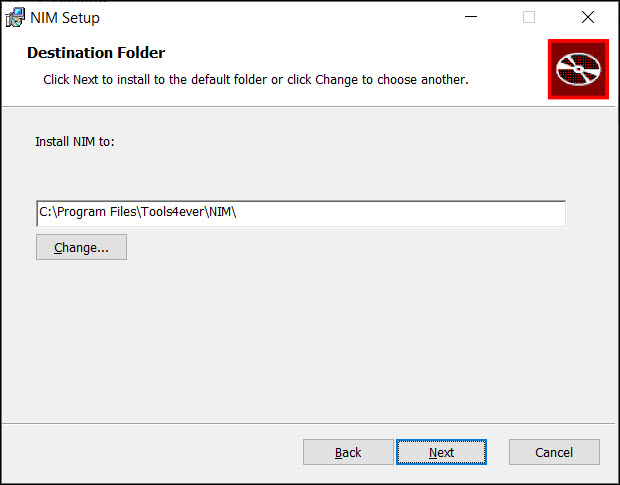
Choose the installation folder. Keep the default location unless your organization has a documented alternative:
C:\Program Files\Tools4ever\NIM\.View screenshot
Complete the installer. NIM installs the required components in the selected installation folder.
The installer creates a self-signed certificate. After installation, use your organization’s certificate or Let’s Encrypt for production HTTPS. See HTTPS for configuration details.
Configure access and open NIM Studio
Grant the required permissions. For Active Directory environments, grant the NIM Service account permission to read and write in Active Directory. Also grant the account local administrator access on the server hosting the service.
For more detail, see Group Managed Service Accounts for Active Directory.
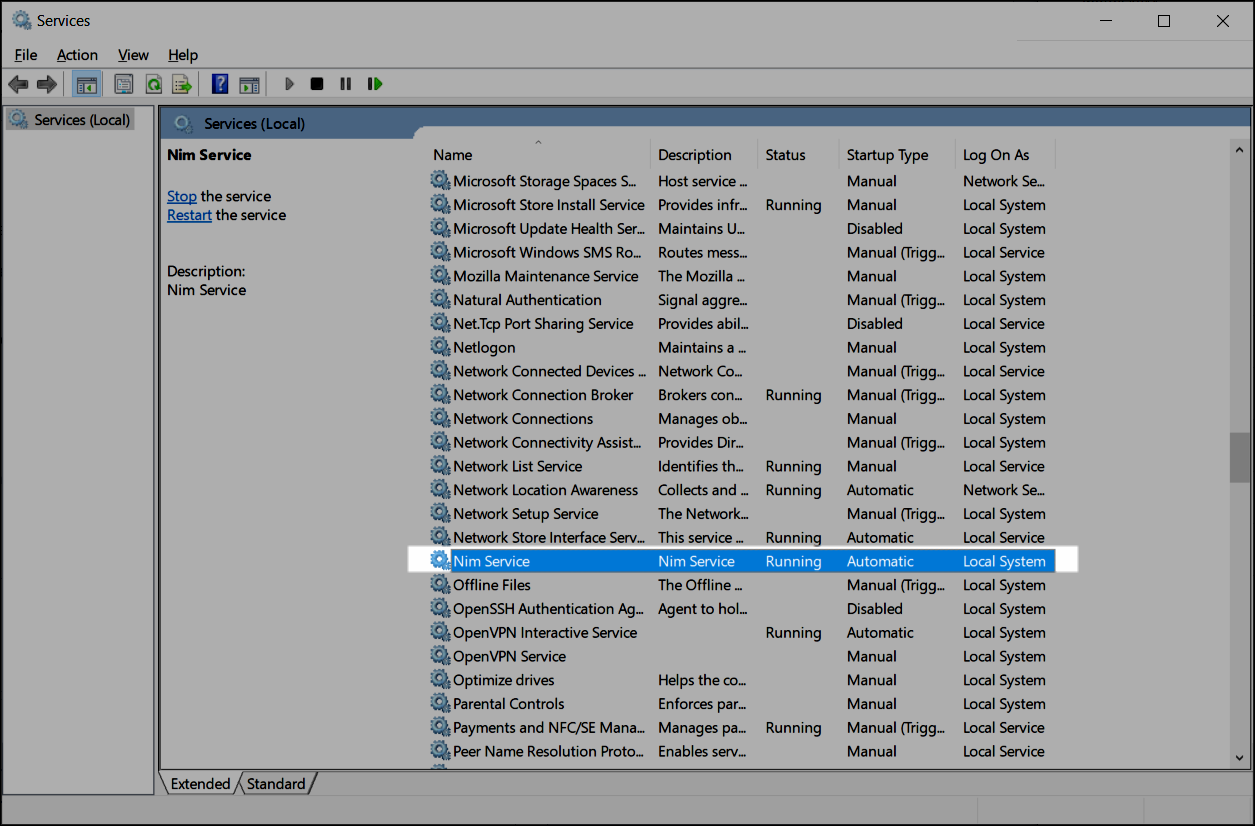
Confirm the NIM Service is running.
View screenshot
Open NIM Studio in a browser. On the NIM server, go to
http://localhost:80/index.html. From another machine, usehttp://<hostname-or-ip-address>:80/index.html.Set the default Administrator password. Enter a secure password for the
Administratoraccount, then select Set Administrator Password.View screenshot
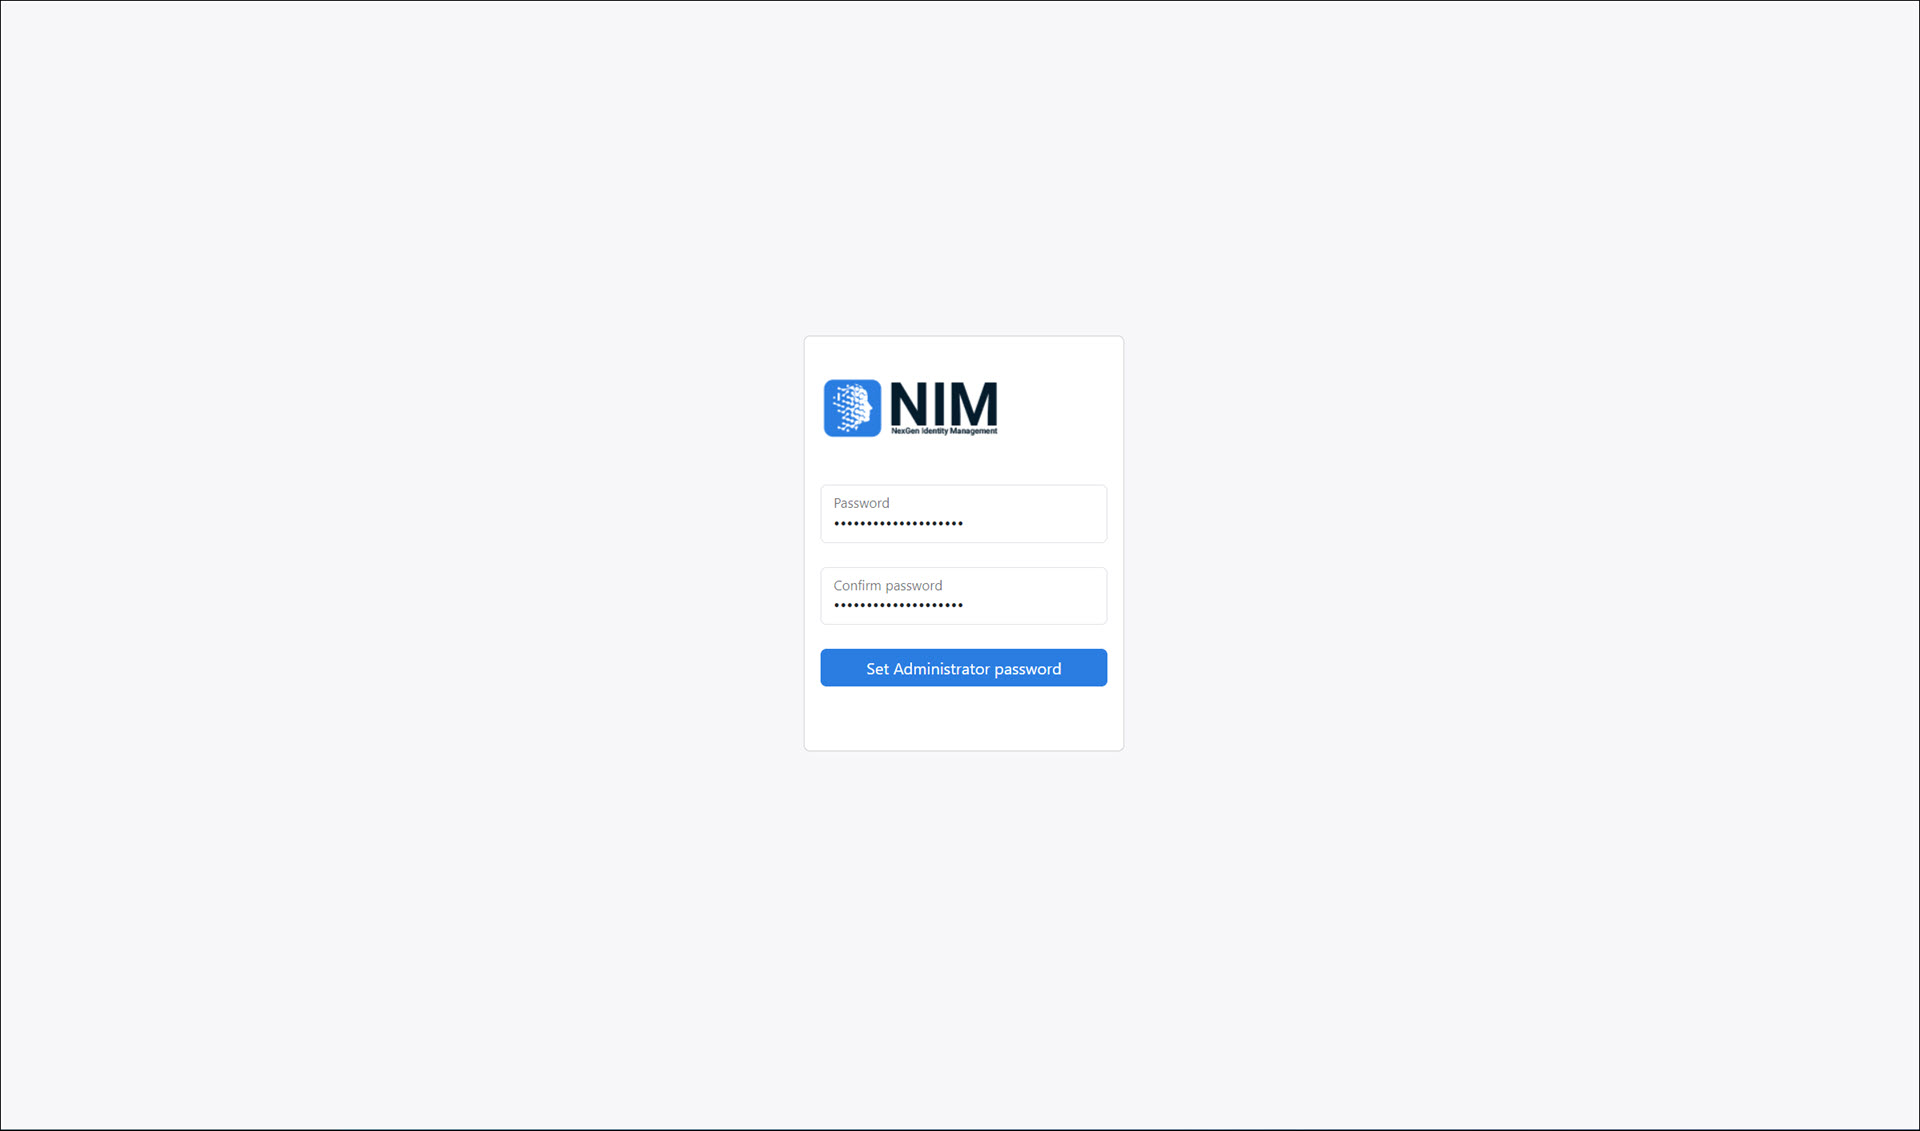
Confirm the Studio opens. NIM assigns the password and launches NIM Studio.
View screenshot
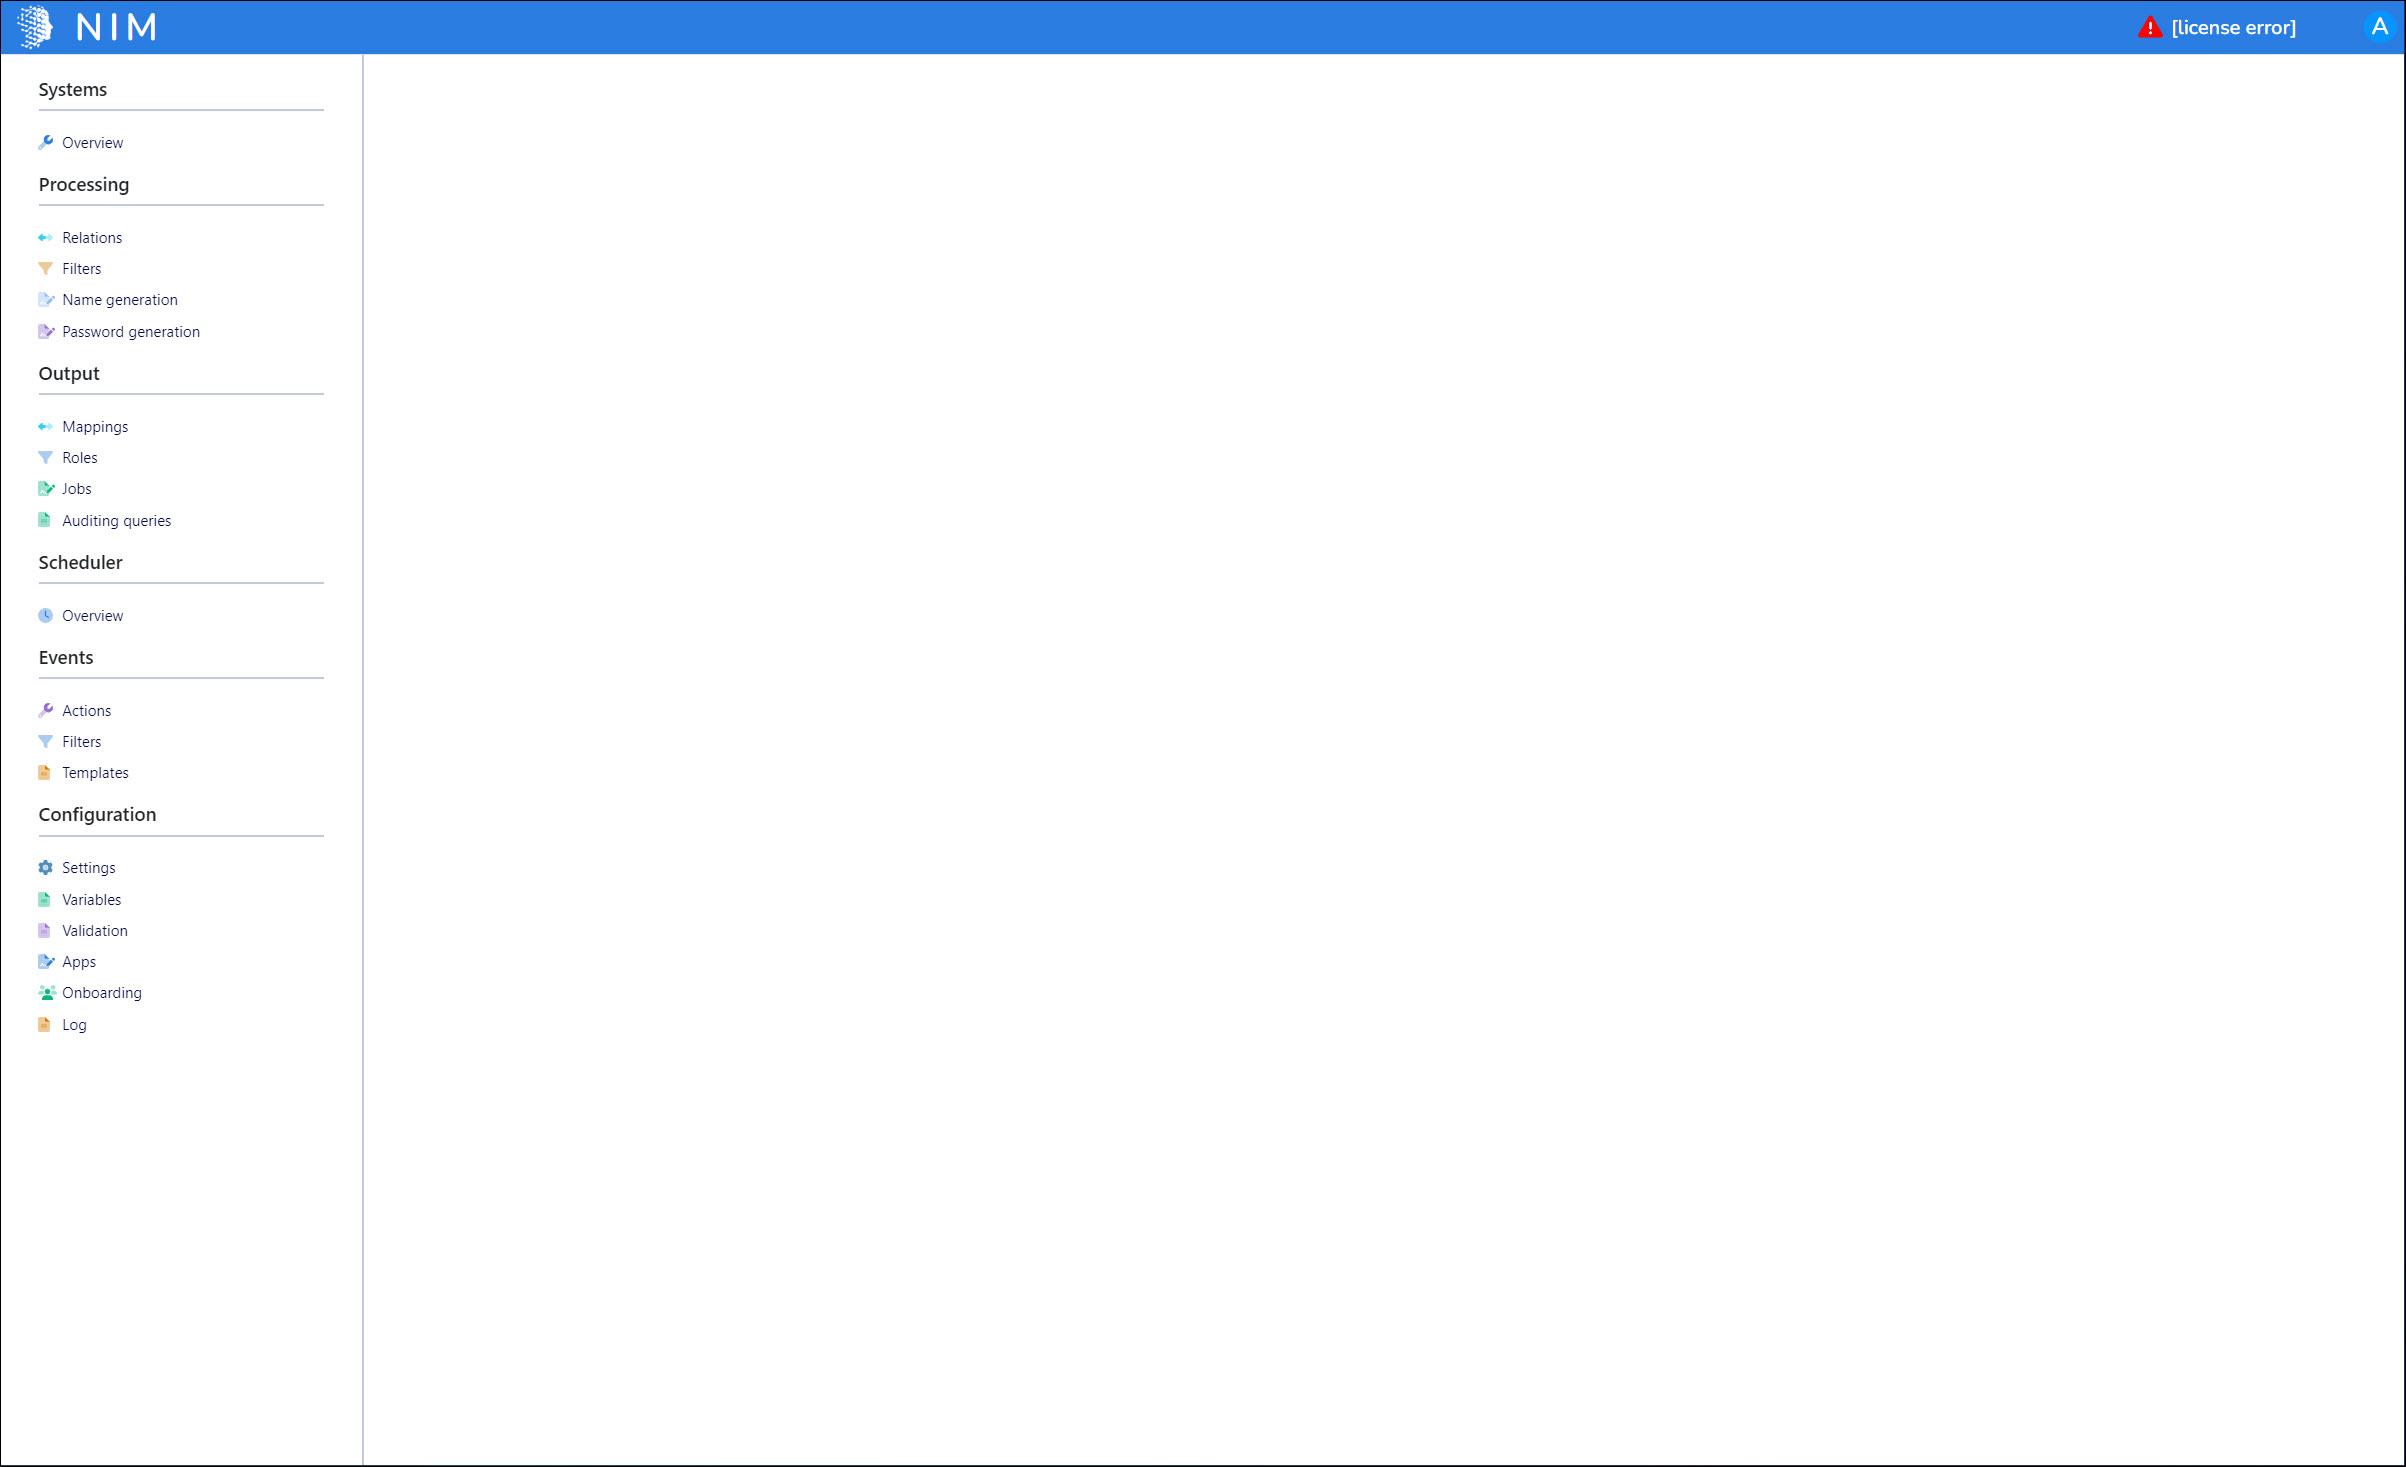
Enter a license code
Use the license code supplied with your NIM purchase. For license-management details, see License.
Open the license settings. In NIM Studio, go to Configuration → Settings → License.
View screenshots
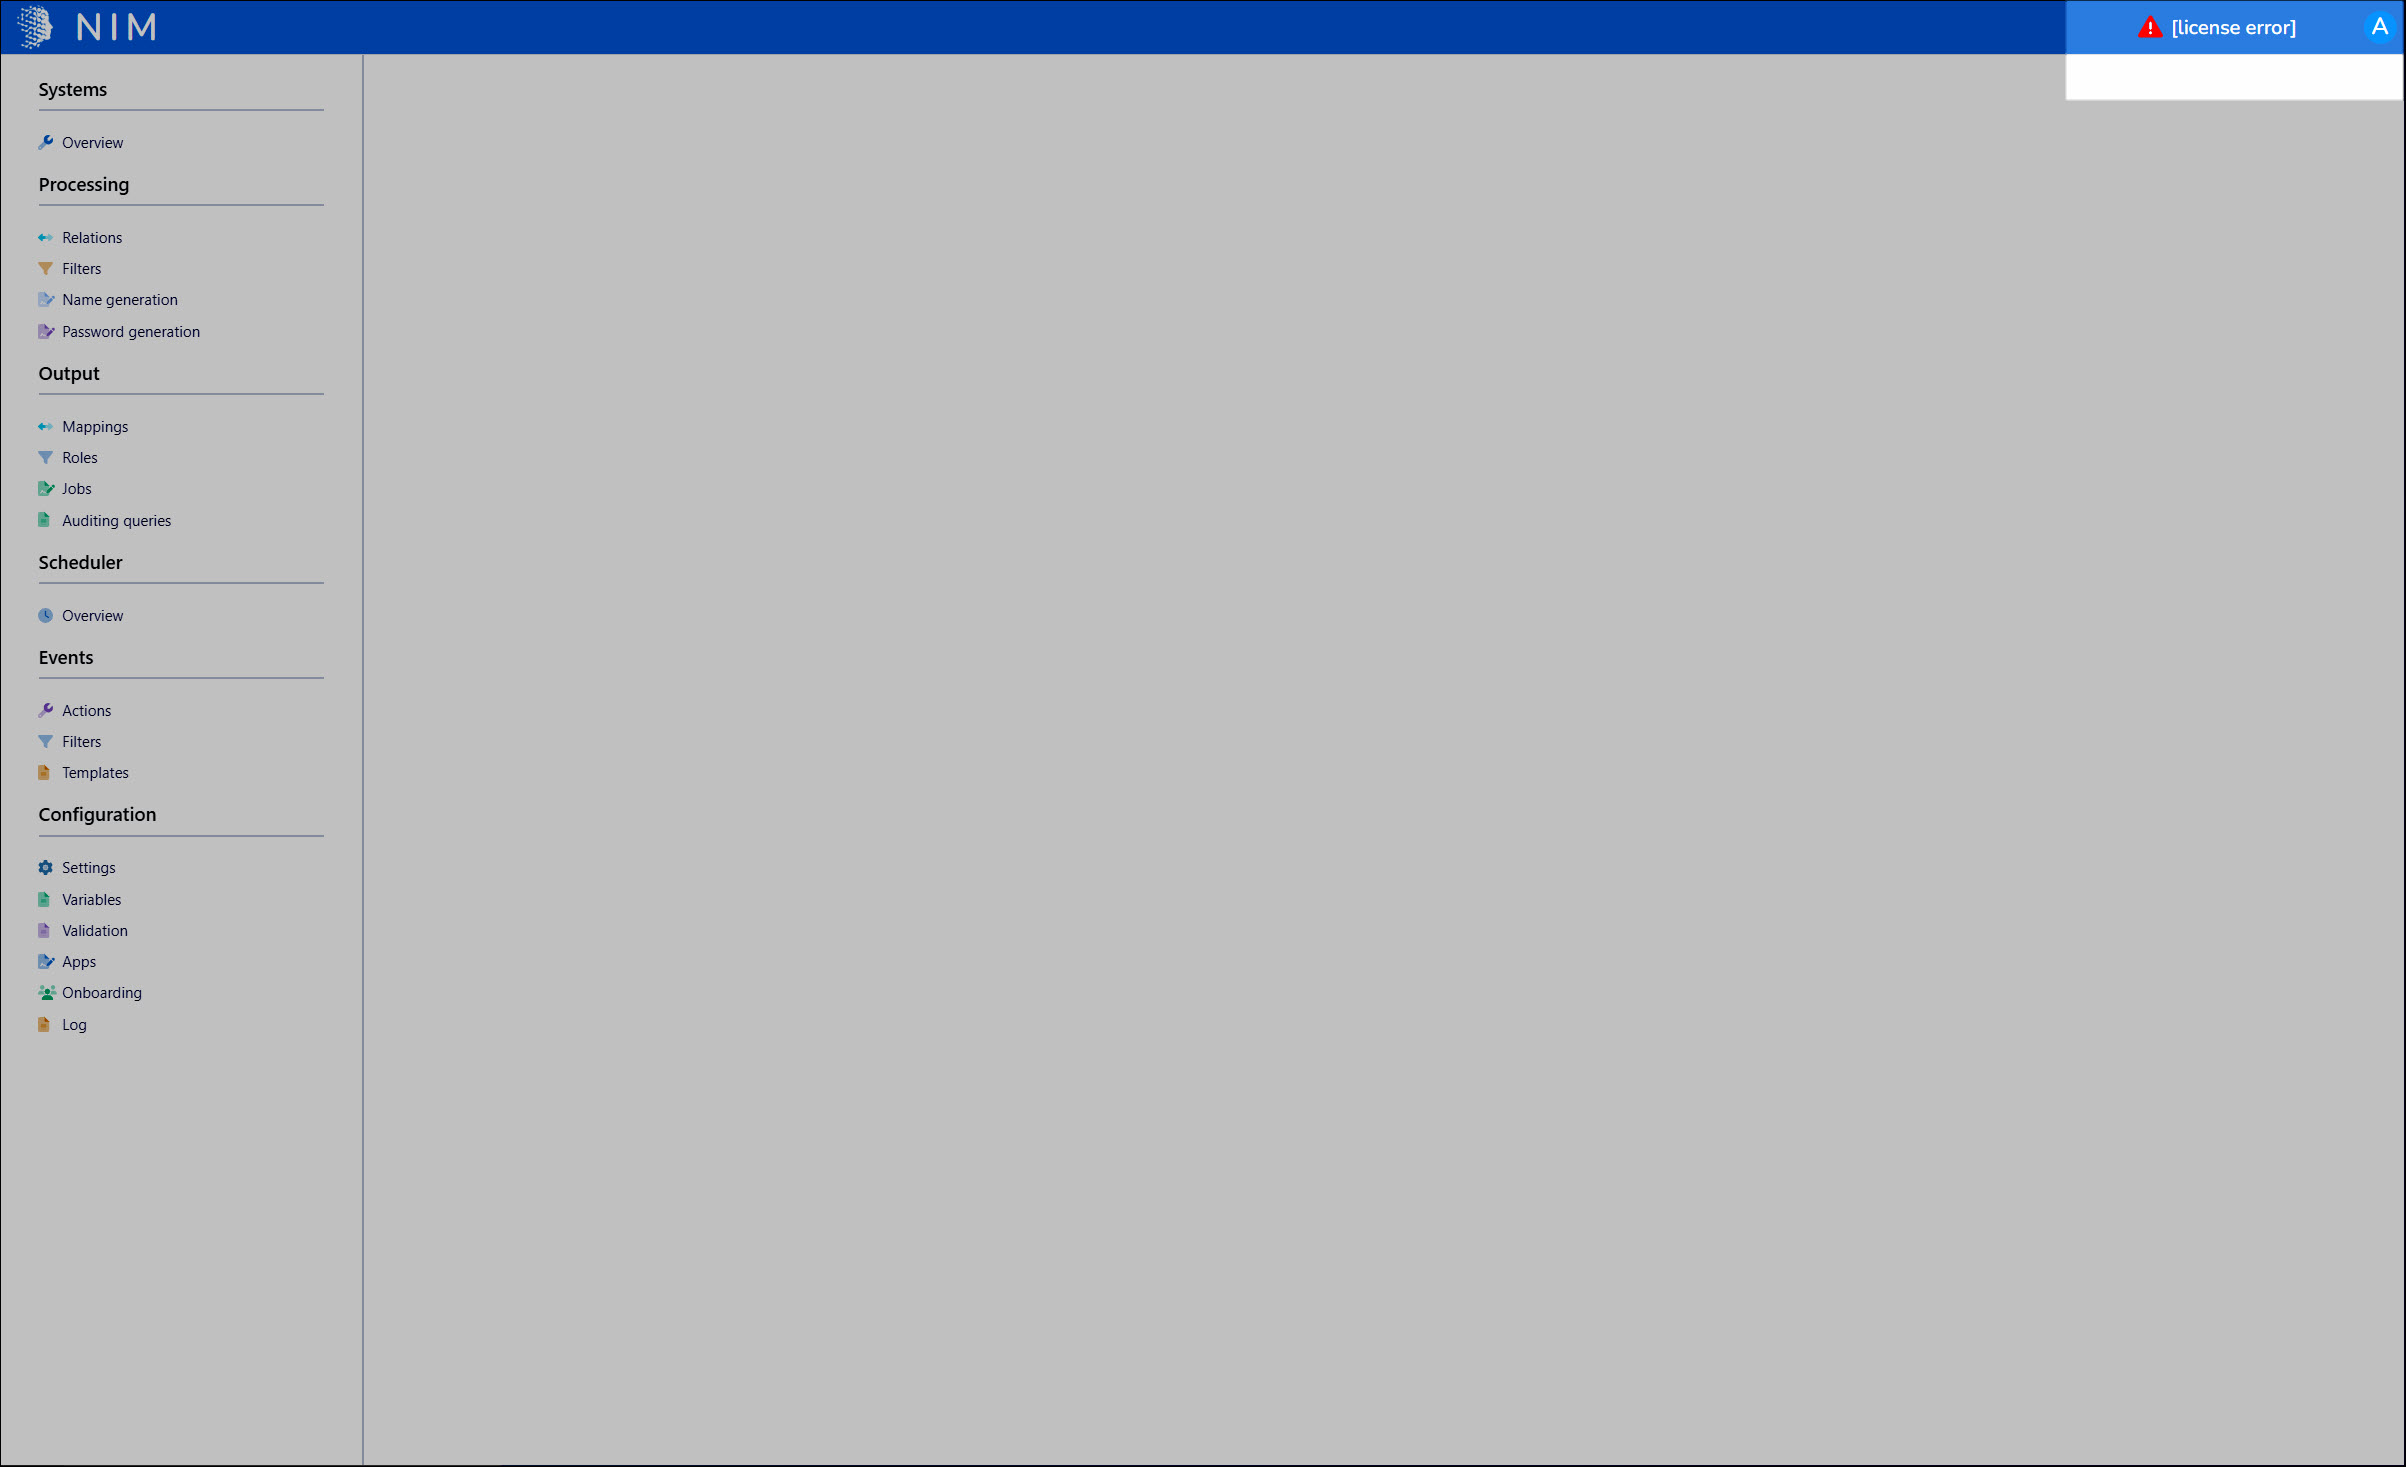
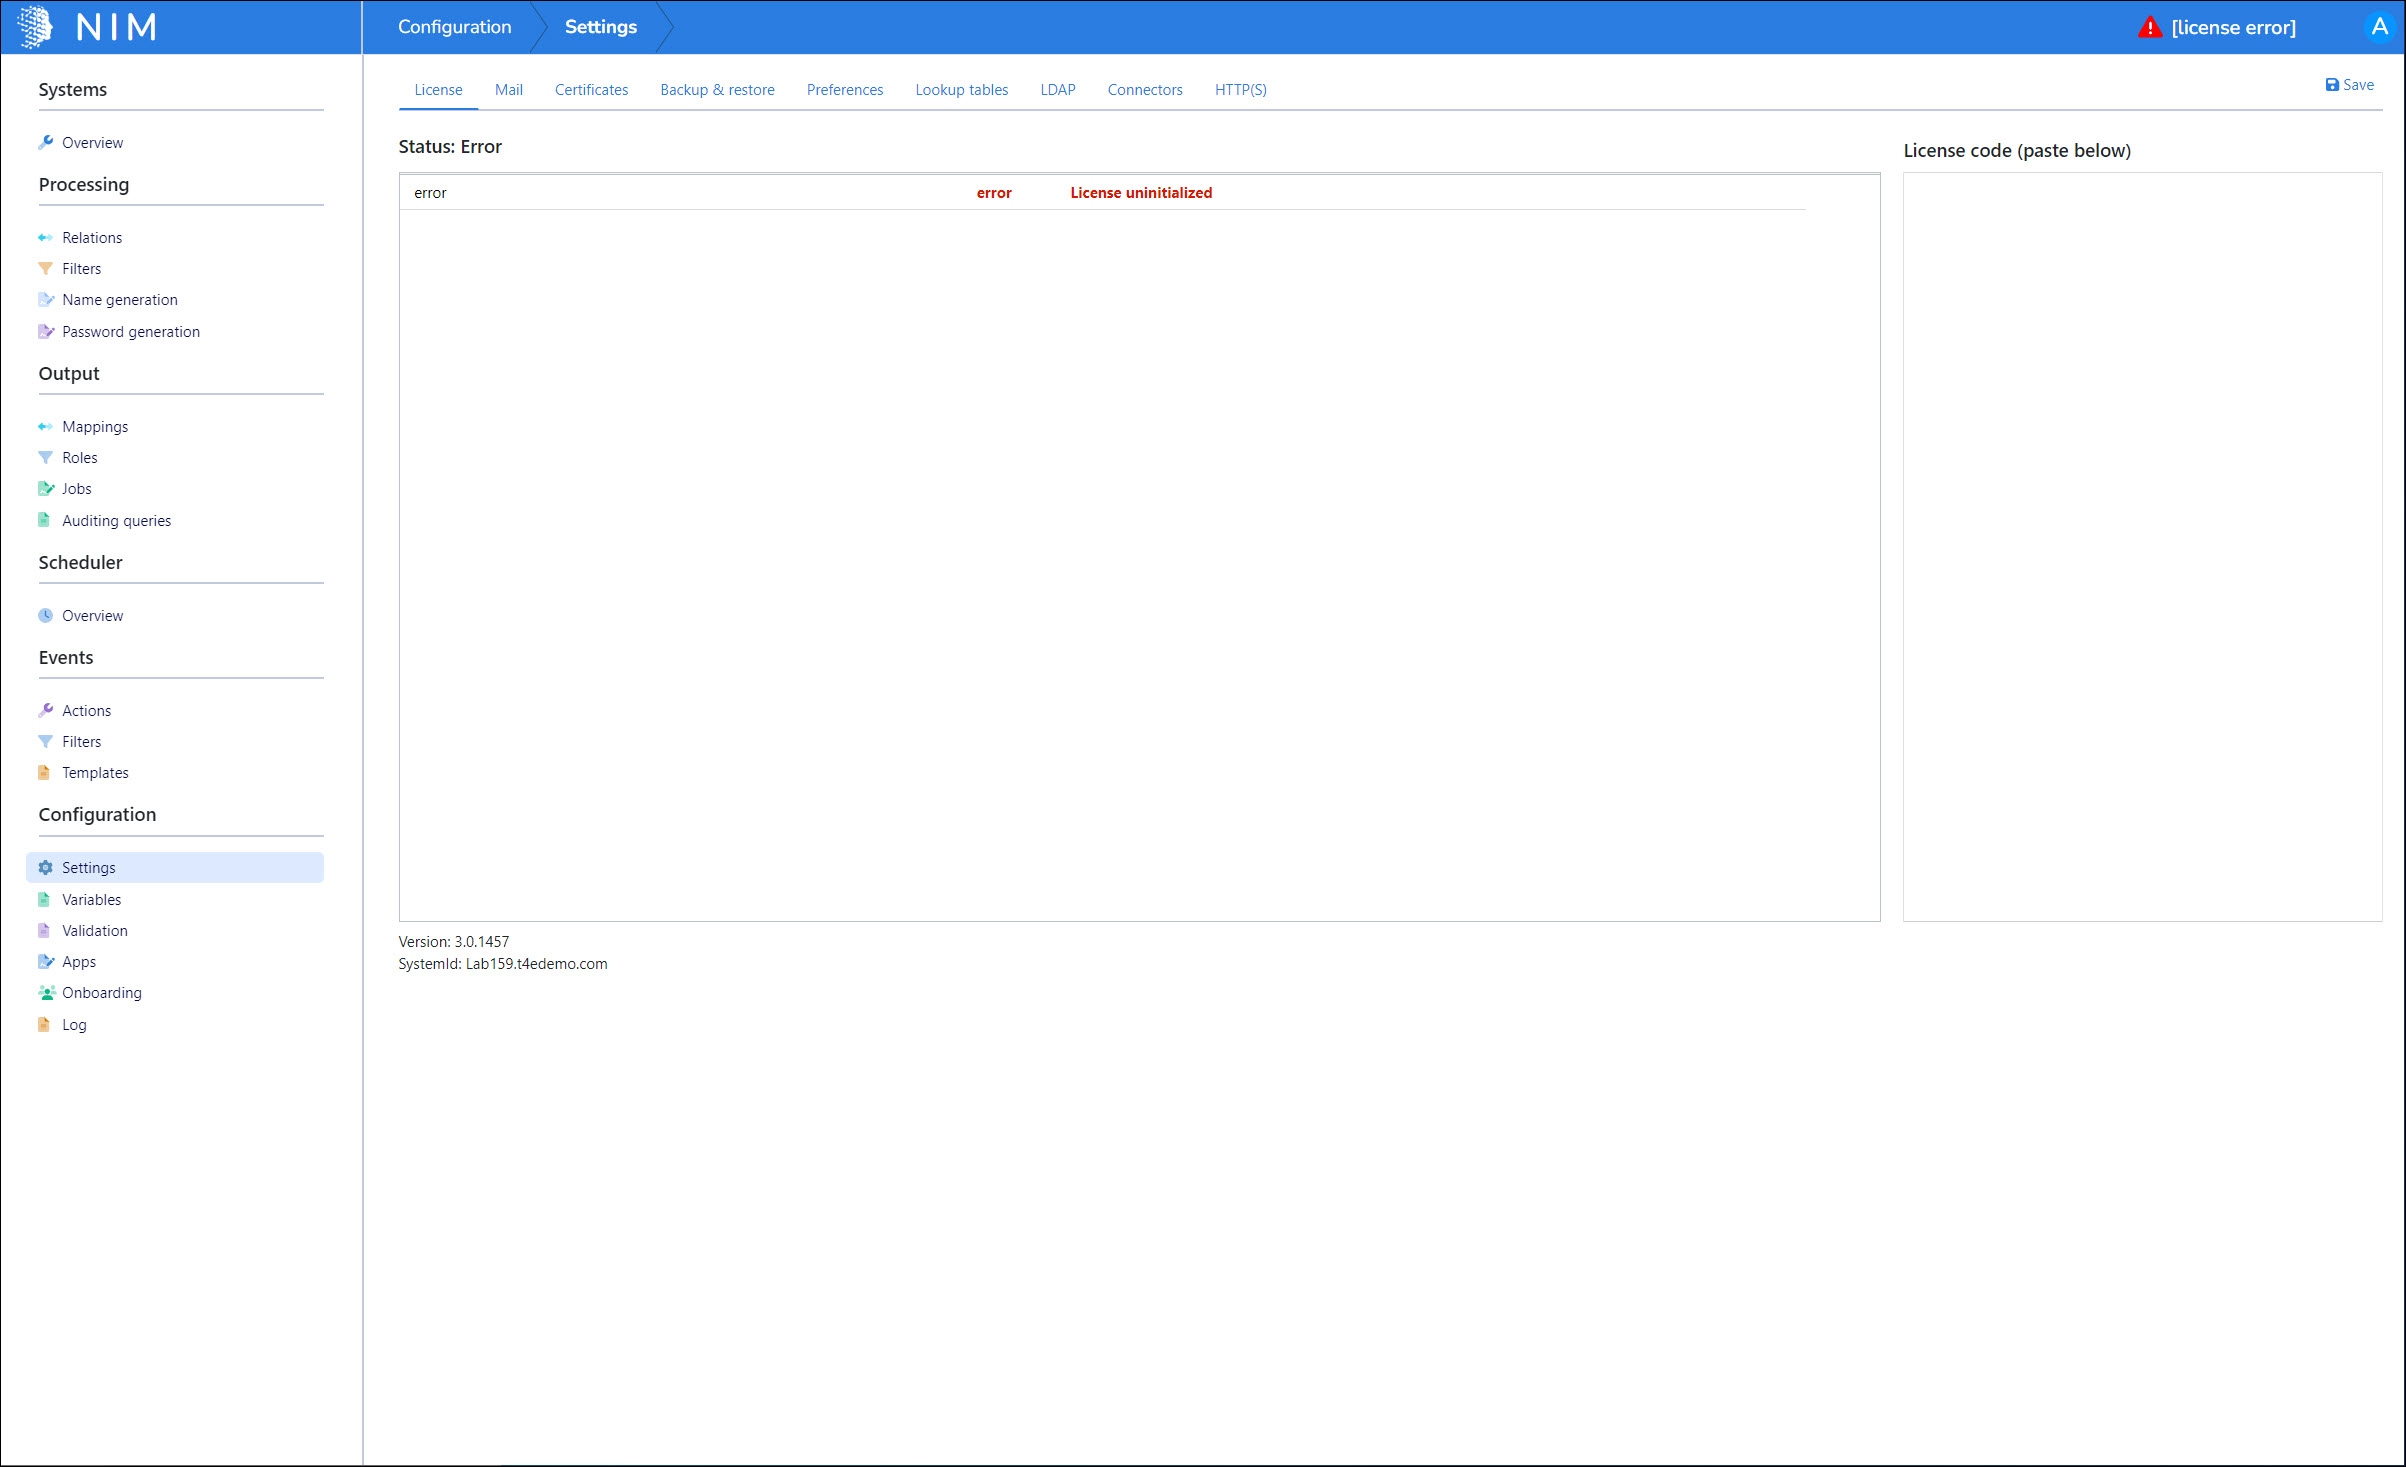
Paste the complete license code. Include the
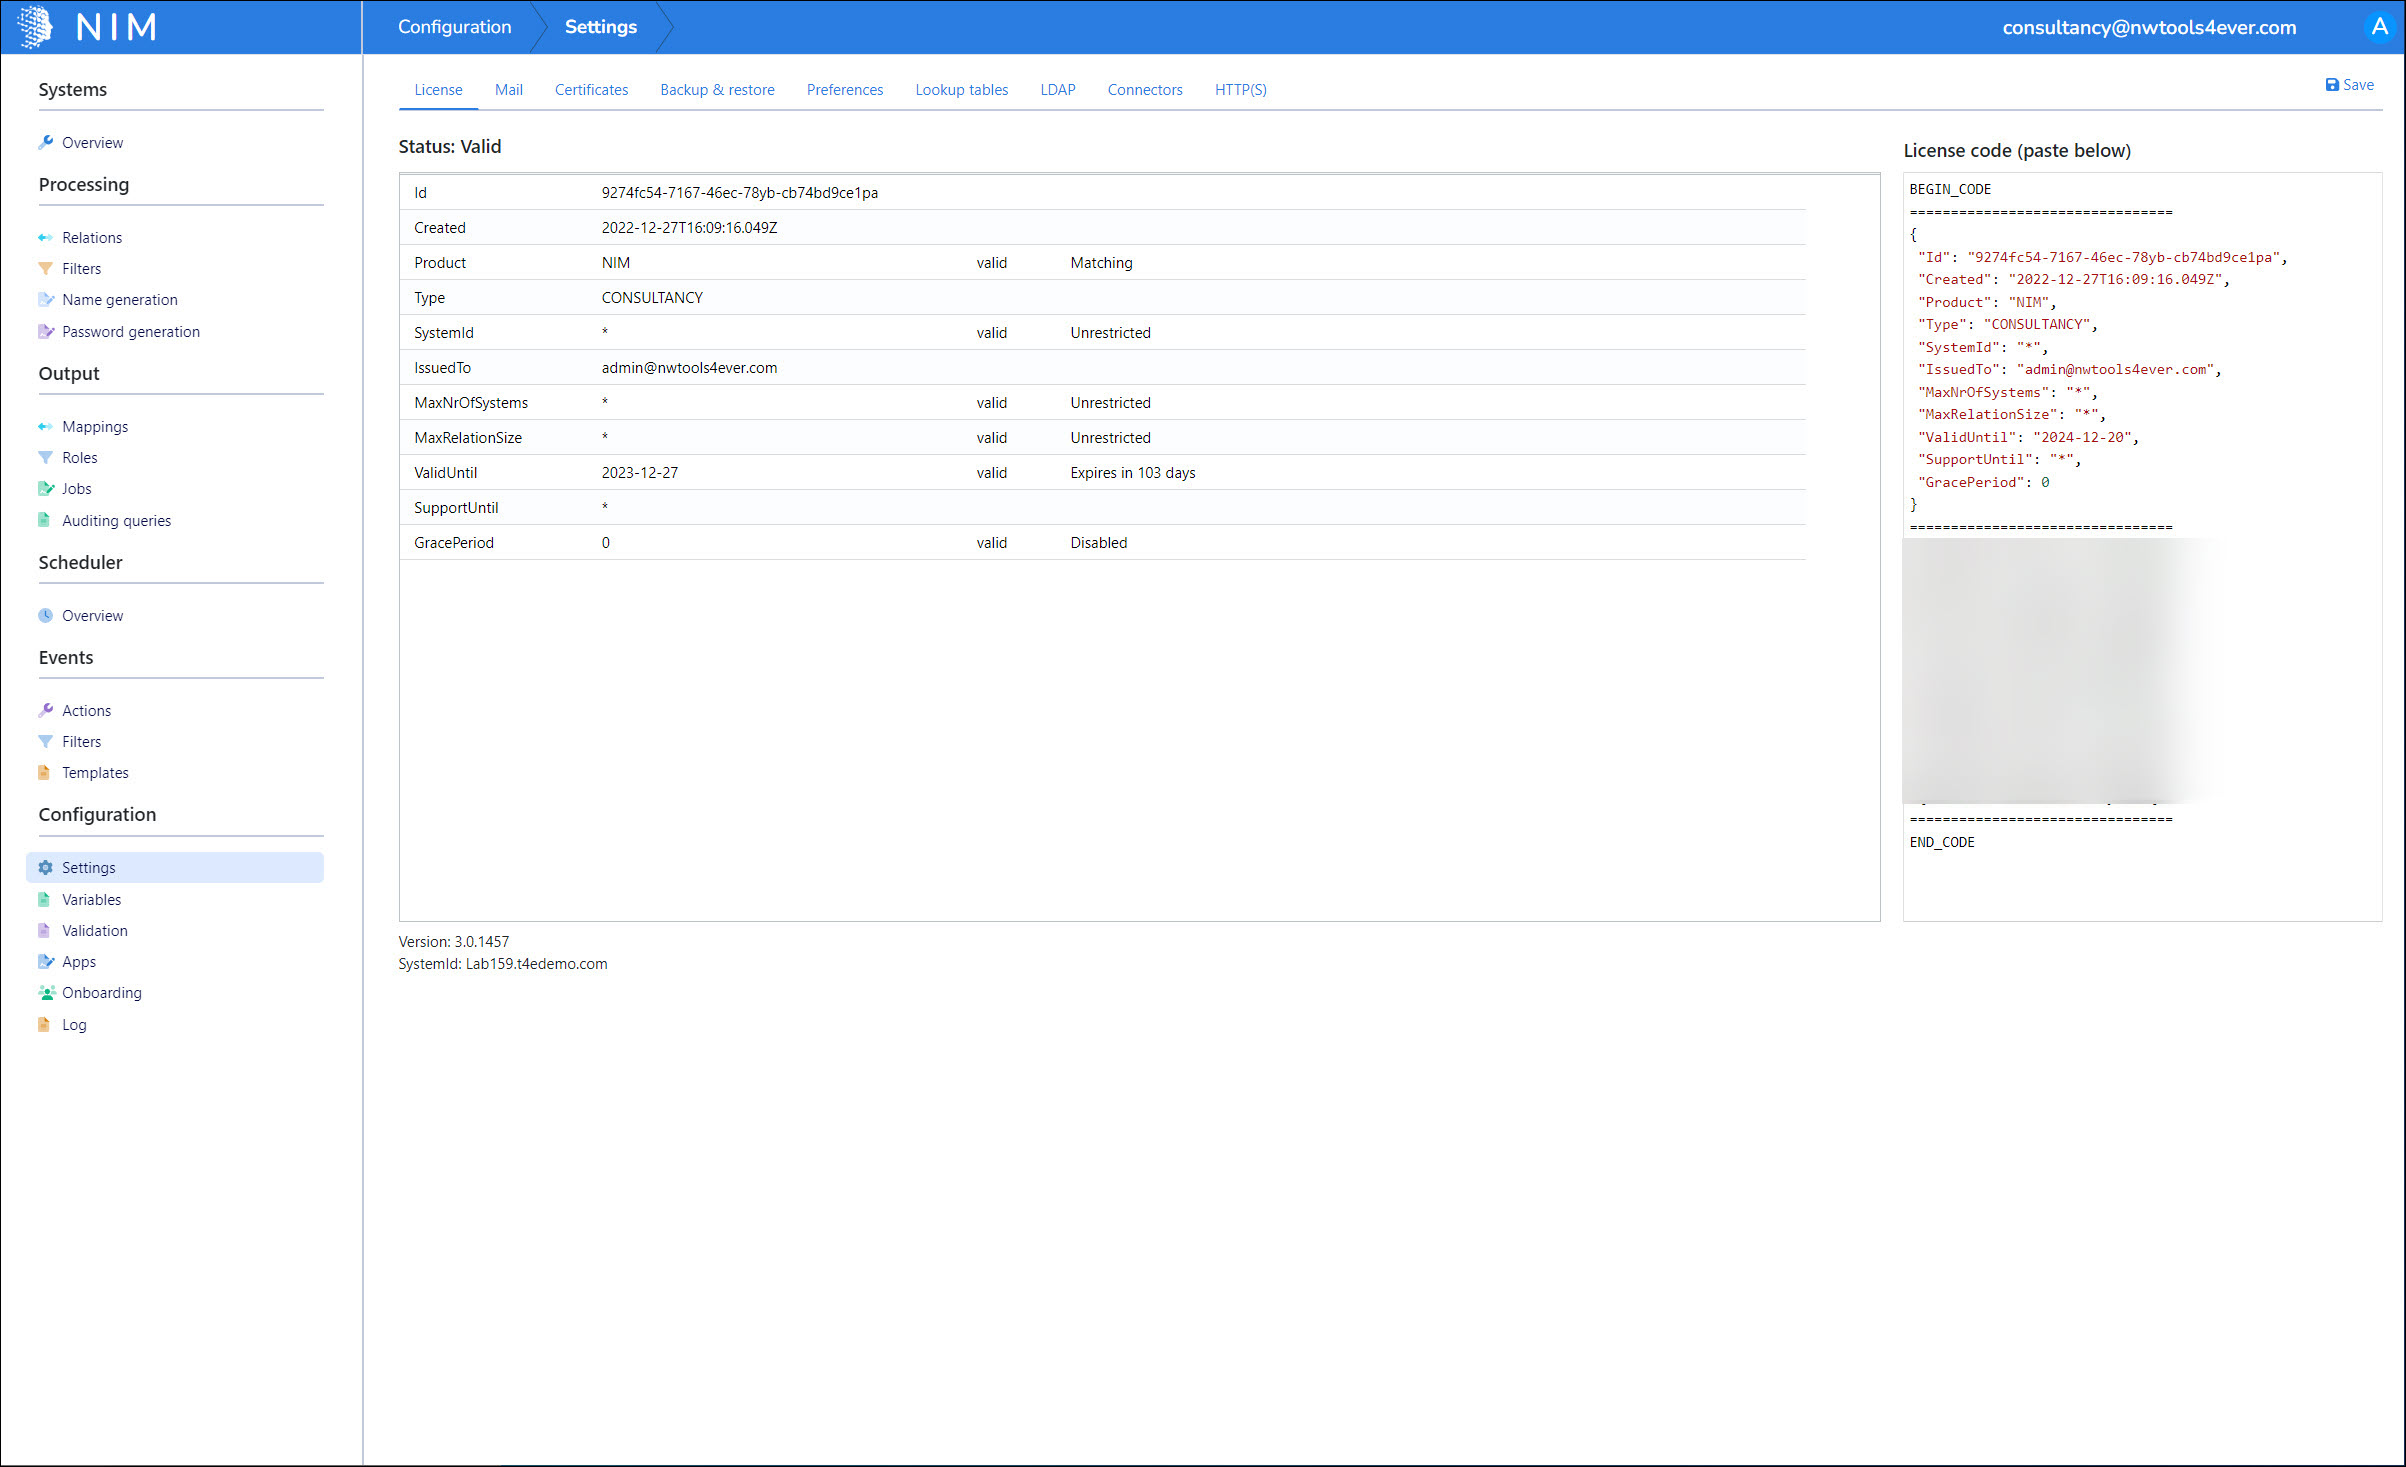
BEGIN_CODEandEND_CODElines, then select Save.View screenshot
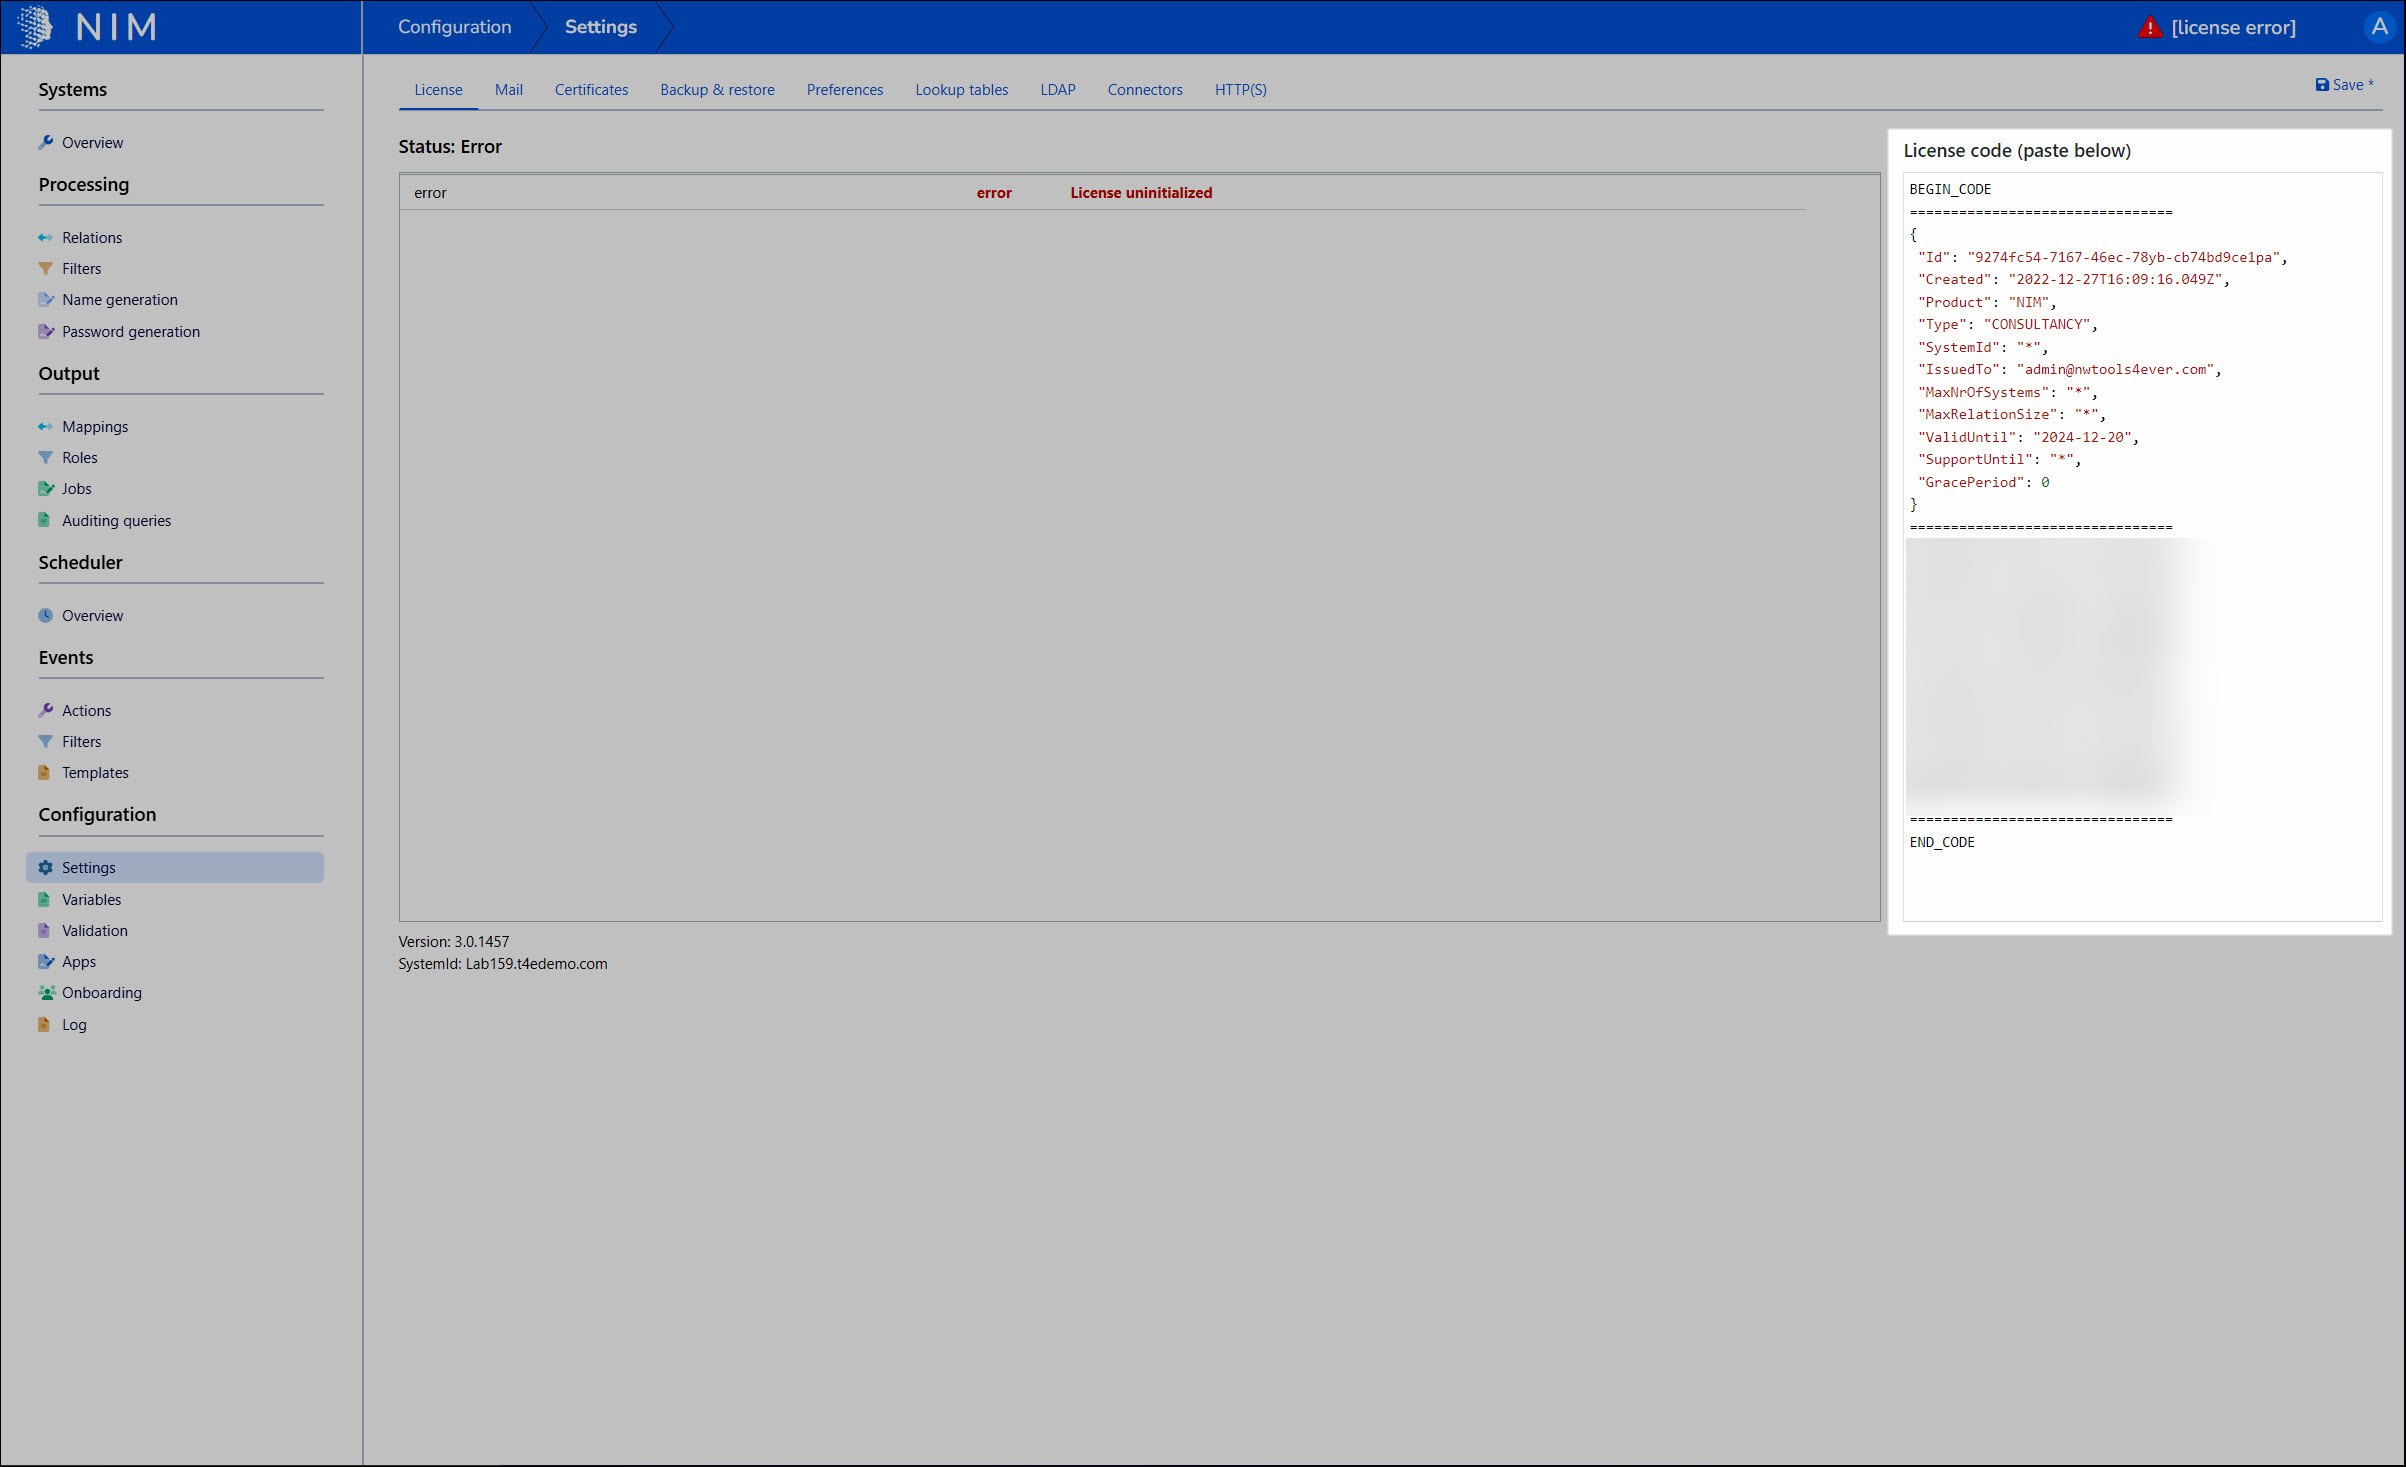
Validate the activation. The Status pane shows license information and the license error clears, enabling full NIM functionality.
View screenshot